





←
Hash Hedge Blog
MULTI-TIMEFRAME ANALYSIS: HOW TO FIND ENTRY POINTS USING HIGHER TIMEFRAMES
Multi-Timeframe Analysis: How to Find Entry Points Using Higher Timeframes
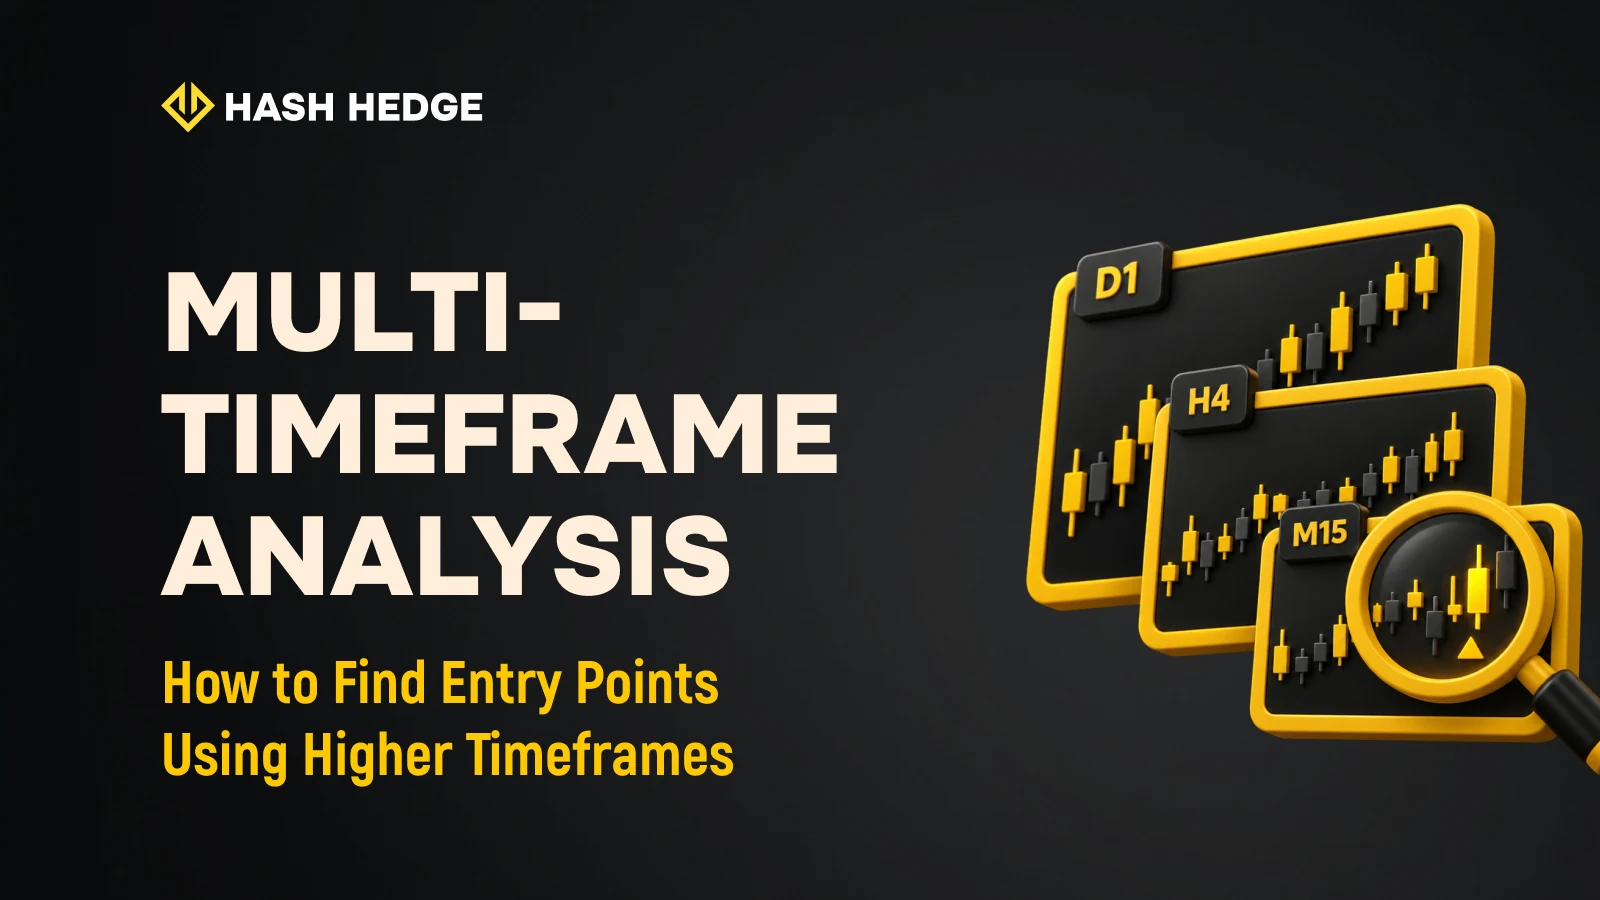
Order blocks, Fair Value Gaps (FVGs), liquidity sweeps, and premium and discount zones shouldn't be analyzed in isolation from the broader market structure.
A setup might look promising on the 15-minute chart but go against the trend on a higher timeframe.
Multi-Timeframe Analysis (MTA) means analyzing the market across multiple timeframes. Higher timeframes help you understand the bigger picture and identify market direction, while lower timeframes help you find specific setups and entry points.
The idea is simple: understand what the broader market is doing before looking for an entry on a lower timeframe.
Table of Contents
Why One Timeframe Isn't Always Enough
The Three-Timeframe Framework
Reading the Higher Timeframe: Where to Start
What If the Higher-Timeframe Direction Is Unclear?
Intermediate Timeframe: Finding an Area of Interest
Lower Timeframe: Finding an Entry Trigger
Placing Your Stop Loss Based on LTF Structure
A Practical Top-Down Analysis Checklist
Common Multi-Timeframe Analysis Mistakes
Key Takeaways
Why One Timeframe Isn't Always Enough
Imagine price returning to a bullish order block on the 15-minute chart. The zone looks like a good place to go long: price is reacting, there's a clear entry point, and you can identify where to place your Stop Loss.
But the 4-hour chart might tell a different story.
Price is making lower highs and lower lows, and that 15-minute order block sits in the premium zone of the higher-timeframe range.
So while the lower timeframe suggests a potential long setup, the broader market structure remains bearish.
This is where multi-timeframe analysis comes in. It helps you evaluate a setup in a broader context and determine whether your trade idea aligns with the current market structure or goes against it.
A higher-timeframe trend doesn't automatically invalidate a lower-timeframe signal. It provides additional context to consider alongside market structure, liquidity, and the other conditions in your trading strategy.
The Three-Timeframe Framework
In multi-timeframe analysis, each timeframe has a specific job: the higher timeframe provides context, the intermediate timeframe helps identify an area of interest, and the lower timeframe is used to find an entry.
1
Higher Timeframe (HTF)
shows the broader market structure. This is where traders identify the trend or trading range, mark major swing highs and lows, order blocks, premium and discount zones, and other key levels. Day traders often use the daily or 4-hour chart as their HTF.
2
Intermediate Timeframe (ITF)
helps narrow things down. It allows traders to identify more specific areas of interest and see how price behaves within the higher-timeframe structure. For example, in a 4H → 1H → 15M setup, the 1-hour chart serves as the intermediate timeframe.
3
Lower Timeframe (LTF)
is where traders look for the actual entry. They watch local market structure, price reactions at marked zones, liquidity sweeps, FVGs, order blocks, or other triggers defined by their strategy. The 15-minute and 5-minute charts are commonly used for this purpose.
The analysis follows a top-down approach: HTF → ITF → LTF.
First, establish a broader context. Then identify an area of interest. Finally, look for a specific trade setup.
Reading the Higher Timeframe: Where to Start
Before looking for an entry, you need to understand what's happening on the higher timeframe.
Open the daily or 4-hour chart and ask yourself three questions:
1
What's the current market structure?
Is price making higher highs and higher lows, lower highs and lower lows, or moving sideways within a range? This helps establish whether the market is bullish, bearish, or ranging.
2
Where is the price within the current range?
Mark the most recent significant range and its midpoint. Premium and discount zones help determine whether price is trading above equilibrium, below it, or near the middle of the range.
3
What important levels are nearby?
Mark major highs and lows, liquidity zones, order blocks, and FVGs. These levels help you identify areas where price reactions may be worth watching.
Once you've answered these questions, you can build a working trade scenario instead of immediately looking for a position.
For example, if the market structure is bullish and price pulls back into a discount zone, you might prioritize looking for long confirmations.
If the structure is bearish and price is trading in a premium zone, you might focus on potential short setups.
However, price being in a premium or discount zone is not an entry signal by itself. And a higher-timeframe trend doesn't guarantee that price will continue moving in the same direction.
These factors provide context that you'll refine using intermediate and lower timeframes.
What If the Higher-Timeframe Direction Is Unclear?
The higher timeframe won't always give you a clear answer.
Price might be sitting in the middle of a wide trading range, with no obvious bullish or bearish structure.
In that situation, you don't need to force a directional bias on a lower timeframe just to take a trade.
If the HTF doesn't provide a clear picture, you can wait for price to reach an important level or for a more defined structure to develop.
Uncertainty on the higher timeframe is part of the analysis, too.
It tells you that building a directional trade scenario may be more difficult right now. Sometimes, staying out of the market is exactly what your trading plan calls for.
Intermediate Timeframe: Finding an Area of Interest
Once you've analyzed the HTF, move to the intermediate timeframe to narrow down where a potential entry might develop.
Let's say the higher-timeframe structure remains bullish and price is pulling back into a discount zone.
On the 1-hour chart, you might find additional structural elements within that area:
An order block
An FVG
A previous Break of Structure (BOS) level that price is revisiting
A local high or low
A liquidity zone
When several of these elements line up, they can help define an area of interest worth monitoring.
But price reaching that area doesn't automatically mean it's time to enter.
The next step is to watch how price reacts on the lower timeframe.
What the ITF Market Structure Tells You
The intermediate timeframe also helps you understand what's happening within the larger market move.
For example, the HTF might remain bullish while the 1-hour chart temporarily forms lower highs and lower lows.
This could simply be a pullback within a broader uptrend.
But if the ITF structure starts changing more significantly, it's worth reassessing your original trade idea.
For example, a Change of Character (CHOCH) against the higher-timeframe direction may suggest that the correction is continuing or that the market structure is beginning to shift.
Instead of entering automatically, you can wait for additional confirmation and see whether the structure realigns with your original scenario.
Lower Timeframe: Finding an Entry Trigger
Once you've established the broader context on the HTF and identified an area of interest on the ITF, move to the 15-minute or 5-minute chart.
The LTF's job is not to determine market direction all over again. It's to confirm your trade idea within an area you've already identified.
On the lower timeframe, you can watch for:
Changes in local market structure through BOS or CHOCH
Liquidity sweeps above local highs or below local lows
Price reactions at order blocks
FVG formation and subsequent price reactions
Strong price reactions after testing an area of interest
For example, price enters a bullish area of interest identified on the 1-hour chart, sweeps a local low on the 5-minute chart, moves back above that level, and forms a bullish market structure shift.
You can then evaluate this as a potential entry trigger within your original trade scenario.
The lower timeframe helps you fine-tune your entry timing and identify where your setup becomes invalid.
But it doesn't automatically make the trade more reliable.
If the HTF or ITF context has changed, a signal on the 5-minute chart isn't a reason to ignore the broader market structure.
Placing Your Stop Loss Based on LTF Structure
Once an entry trigger appears on the lower timeframe, your Stop Loss should be placed where your trade idea is no longer valid, not simply as close to your entry as possible.
For example, after a liquidity sweep and a bullish market structure shift, the invalidation level might be the low below which your bullish scenario would no longer hold.
Using the LTF can help you identify that level more precisely.
In some cases, this allows for a tighter Stop Loss compared to placing it beyond the entire HTF or ITF zone.
That can improve your risk-to-reward ratio.
But a tighter Stop Loss doesn't automatically mean a better trade.
First, identify a logical invalidation level. Then use the distance between your entry and Stop Loss to calculate your position size based on your predefined risk.
If your Stop Loss gets hit while price remains inside the ITF area of interest, your original trade idea isn't necessarily invalidated.
But that doesn't mean you should immediately reenter.
A new entry should require a fresh, valid LTF trigger.
A Practical Top-Down Analysis Checklist
Multi-timeframe analysis works best when you follow a consistent process: start with the bigger picture and work your way down to a specific entry.
Before Your Trading Session
1
Start with the daily or 4-hour chart. Identify the market structure, determine where price sits relative to premium and discount zones, and mark important levels: highs and lows, order blocks, FVGs, and liquidity zones.
2
Build a working trade scenario. Identify areas where a setup that fits your strategy might develop.
3
Set price alerts. Instead of watching charts constantly, you can return to your analysis when price approaches an area you've marked.
When Price Reaches Your Area of Interest
1
Move to the intermediate timeframe and check whether your original scenario still holds.
2
Narrow down the area of interest within the larger zone.
3
Switch to the 15-minute or 5-minute chart and wait for a trigger defined by your trading system: a market structure shift, liquidity sweep, order block reaction, FVG, or another predefined signal.
4
If your entry conditions are met, calculate your position size based on your predefined risk and Stop Loss distance.
The key principle is simple: just because price reaches your area of interest doesn't mean you need to enter a trade.
The zone tells you where to look for a setup. The lower timeframe helps you determine whether that setup has actually appeared.
After Opening a Position
Higher-timeframe levels can also help you plan your exits.
For example, nearby ITF structural levels might serve as intermediate targets, while major HTF highs, lows, or liquidity zones can provide additional price targets.
Your exit strategy should be part of your trading system and defined before entering a position.
It shouldn't change in the middle of a trade unless those adjustments are already covered by your rules.
Common Multi-Timeframe Analysis Mistakes
Changing Your HTF Bias After Every LTF Move
One bearish candle on the 15-minute chart doesn't invalidate a bullish structure on the 4-hour chart.
Each timeframe reflects market movement at a different scale. A short-term pullback can happen within a larger trend.
Constantly changing your directional bias after every local move can lead to switching between longs and shorts, looking for confirmation of emotional decisions you've already made.
This can contribute to overtrading.
You should reassess your HTF bias when the actual structure of your chosen higher timeframe changes, not simply because price moves in the opposite direction on the LTF.
Entering Just Because Price Reaches an HTF Zone
An order block or FVG on the 4-hour chart identifies an area of potential interest.
It doesn't mean you need to enter immediately.
Price might move deeper into the zone, sweep nearby liquidity, or break through the area entirely.
That's why, within a multi-timeframe approach, traders can move to a lower timeframe after price reaches an HTF zone and wait for the conditions defined by their strategy.
This helps you avoid guessing where price will reverse within a large zone.
Instead, you make your decision after a specific entry trigger appears.
Using Too Many Timeframes
More timeframes don't necessarily lead to better analysis.
If you're watching the monthly, weekly, daily, 4H, 2H, 1H, 15M, and 5M charts simultaneously, you'll almost always find conflicting signals.
For most intraday trading scenarios, it's enough to choose a few timeframes in advance and give each one a clear purpose:
HTF → Context → ITF – Area of Interest → LTF – Entry Trigger
The specific timeframes may vary depending on your strategy.
What matters more than the number of charts is having a consistent analysis process.
Key Takeaways
1
Multi-timeframe analysis follows a top-down approach: HTF → ITF → LTF.
2
The HTF provides the broader context: market structure, key levels, and price location within the current range.
3
The ITF helps identify an area of interest where a potential setup might develop.
4
The LTF is used to find a specific entry trigger, not to redefine the overall market direction.
5
Your Stop Loss belongs where your trade idea becomes invalid. The LTF can help you identify that level more precisely, but a tighter stop isn't the goal by itself.
6
Lower-timeframe price movements don't automatically invalidate the HTF structure. Your broader market bias should change when the conditions supporting your original scenario change.
7
You don't need to analyze every available timeframe. A systematic approach starts with assigning a clear purpose to each chart you use.
At Hash Hedge, there's no maximum time limit for completing a Challenge.
That means you don't have to trade against a strict deadline.
You can wait for setups that meet your trading system's conditions instead of forcing trades just to reach your Challenge's profit target faster.
Ready to Trade with Prop Firm Capital?
Hash Hedge is a prop trading platform for trading RWA and crypto 24/7. Get funded with up to $200,000 and withdraw up to 90% of your profits in USDT directly to your wallet.
More Trading Guides
Premium and Discount Zones in Crypto Trading
BOS and CHOCH: How to Read Market Structure in Crypto
Order Blocks in Crypto Trading: How to Find and Trade Them
Risk-to-Reward Ratio in Prop Evaluation
Position Sizing on a Funded Account